

A case study each day: practical process sharing

2024/12/15
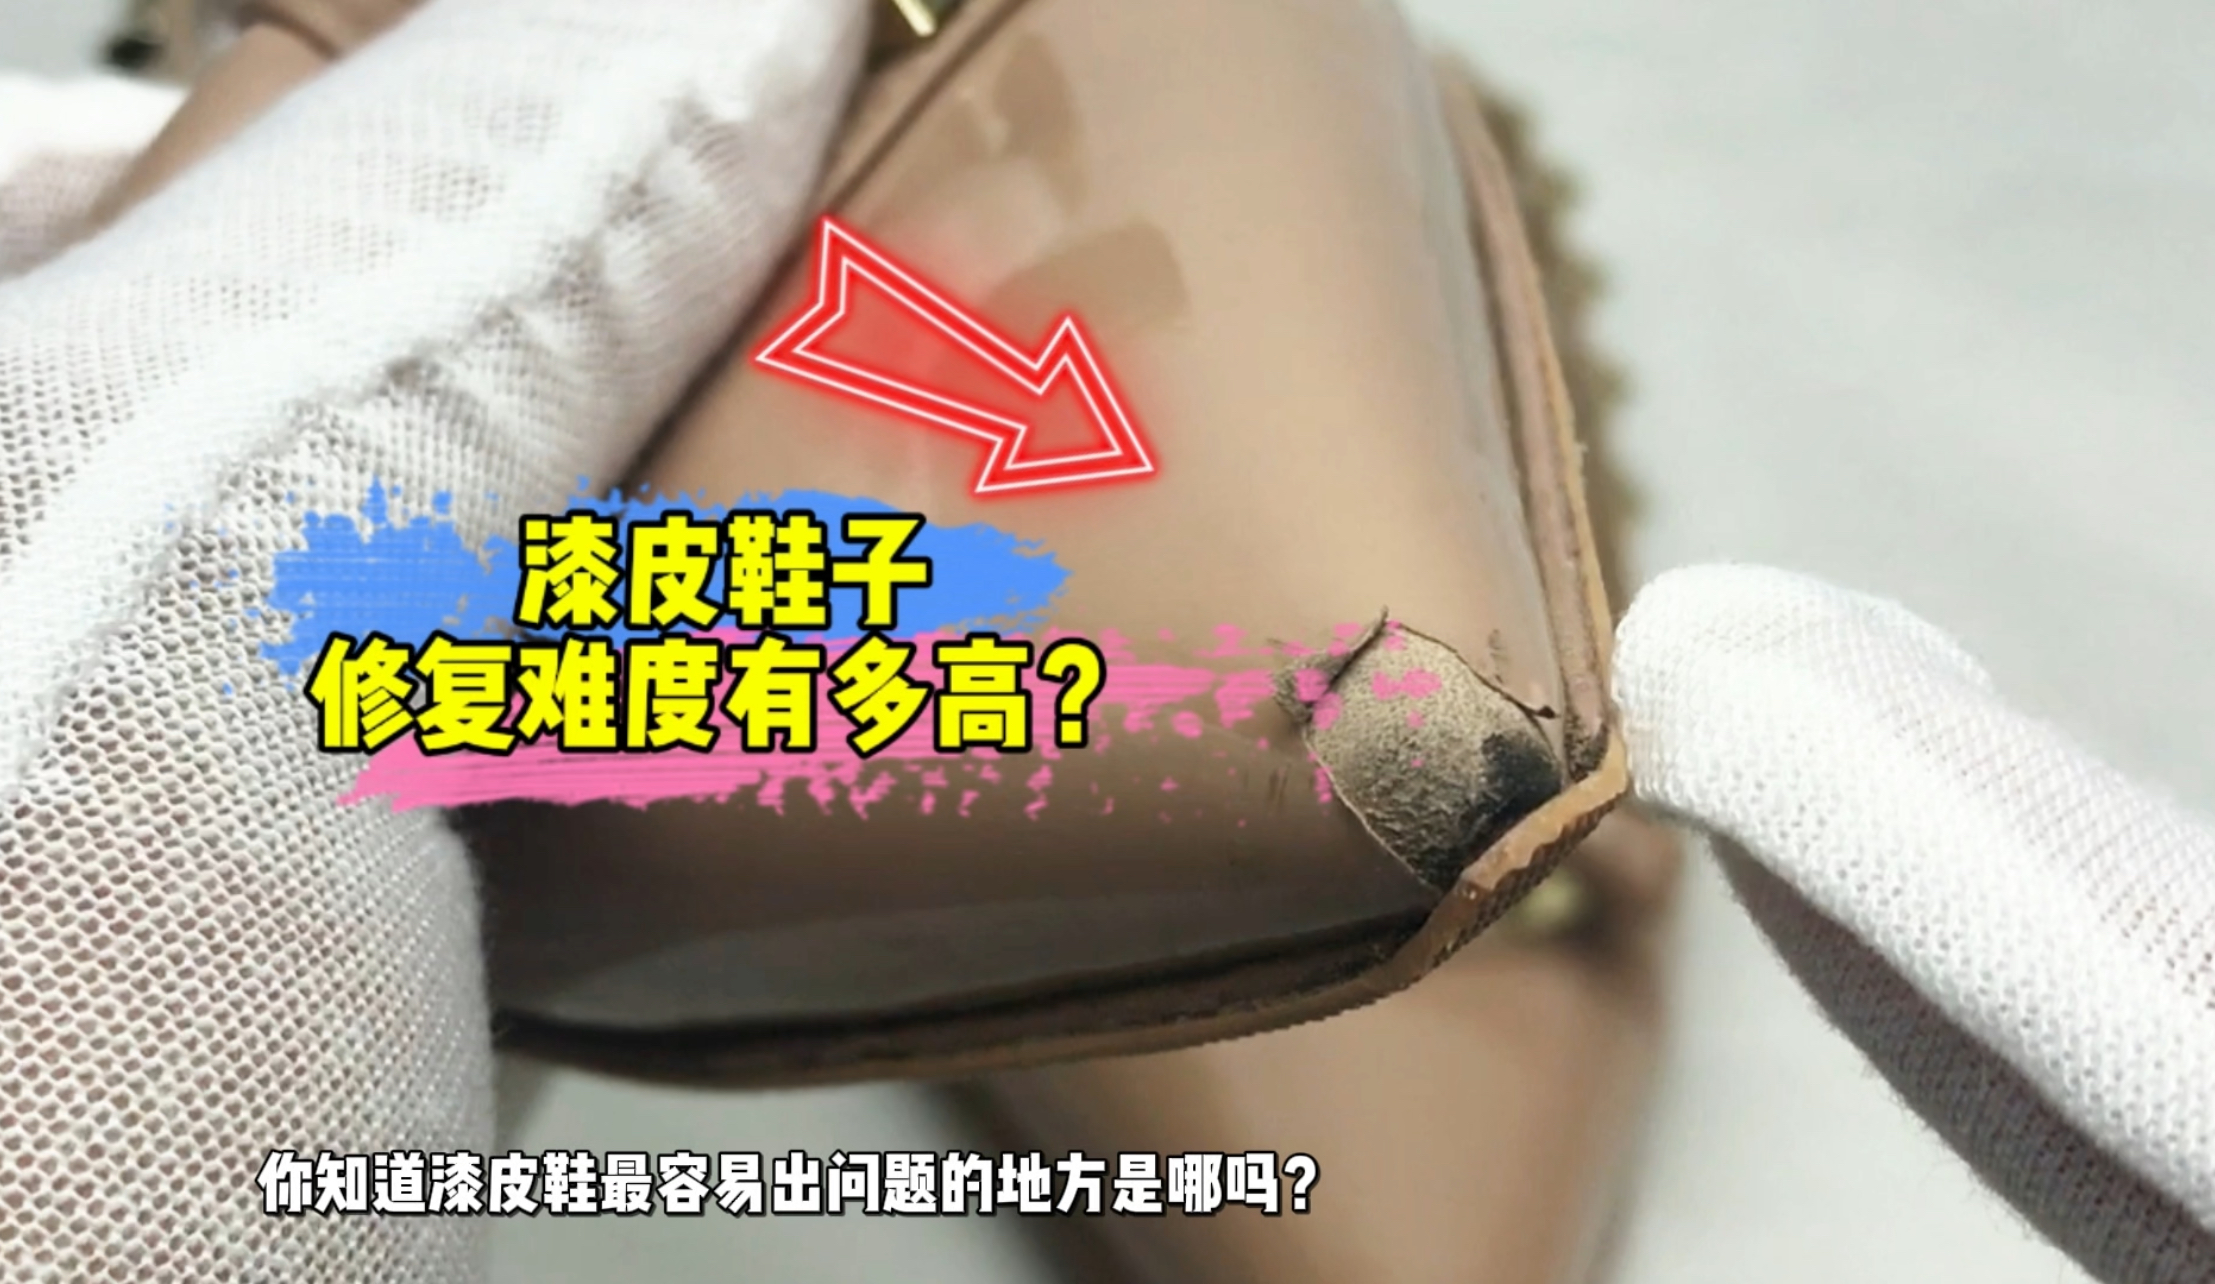
Patent leather shoe repair and original-colour restoration
1. Cleaning: Use the pump-foam Leather Stain Cleaner to clean surface dirt.
2. Deep stain and dirt removal: After air drying, use a lint-free towel with 95% alcohol (described in the source as anhydrous ethanol) to rub the patent leather firmly, removing embedded dirt and stains to improve colour-coat adhesion.
3. Damage repair: Sand damaged or lifted areas level, then bond with Imported Water-Based Adhesive. Fill severe heel and toe wear with Colourless Matte Edge Paint; allow it to dry completely before sanding smooth.
4. Base colour: First spray a separate light, thin coat of Adhesion Resin to improve bonding. Mix Smooth Leather Resin and High-Strength Colouring Resin at 4:1, tint with standard colour paste, add about 10 drops of Enhanced Curing Crosslinker and spray evenly for coverage. Important: allow it to air dry completely before the next step; otherwise mottling or layer separation and peeling may occur. In summer, hang to dry for at least 3 hours or more; in winter, overnight is preferable.
5. Clear topcoat: Mix Super Patent Leather Clearcoat and Clearcoat Thinner at 1:1.5. Stir thoroughly, leave for about 5 minutes for bubbles to settle, then pour into the spray gun and spray.
6. Application notes: Use medium air and a somewhat high fluid setting, moving the gun steadily to wet the surface without runs. Avoid stirring up dust, which can cause defects. After spraying, hang for about 8 hours until surface-dry and touchable. Complete drying requires 24 hours.
7. Finishing touch: Wipe the whole bag with Patent Leather Polishing and Feel Paste, then polish for a clear, wet-look gloss.
The source states that the finished patent leather performs like the original finish, resists solvent wiping and does not become tacky again.
Watch the video for this process
Patent leather shoe repair and original-colour restoration
Scan the original QR code with WeChat to watch the video for this case.
On a phone, save the QR image, then select it from your album in WeChat Scan.
Understand the sequence and decisions
Additional explanations based on this case’s original record.
Follow layered preparation, damage repair, base colour and clearcoat. Pay attention to drying between layers and the distinction between surface-dry and fully dry.
Read the process by layers
The source goes from cleaning and deep dirt removal to repairs, base colour and clearcoat. This overview explains the order; the complete source remains the reference for each action.
Source reference:Cleaning through clear topcoatDrying the base is a prerequisite
The source requires complete air drying, explains possible failures if the next step is too early and gives seasonal waiting guidance. Keep the wait in the process.
Source reference:Base colourRecord surface drying and full drying separately
The source describes about 8 hours to surface dry and 24 hours to dry completely. These are different stages, recorded for this case rather than additional guarantees for other conditions.
Source reference:Application notesCase scope
This is a patent leather shoe case. Its materials, timings and stated results are retained as source content, without adding general guarantees for other patent leathers, product systems or environments.
Questions and answers
Can clearcoat follow immediately after the base?
No. The source requires complete air drying; follow the waiting guidance in the base-colour section.
Does touchable mean fully dry?
The source distinguishes surface-dry and touchable from completely dry. They are not the same.