
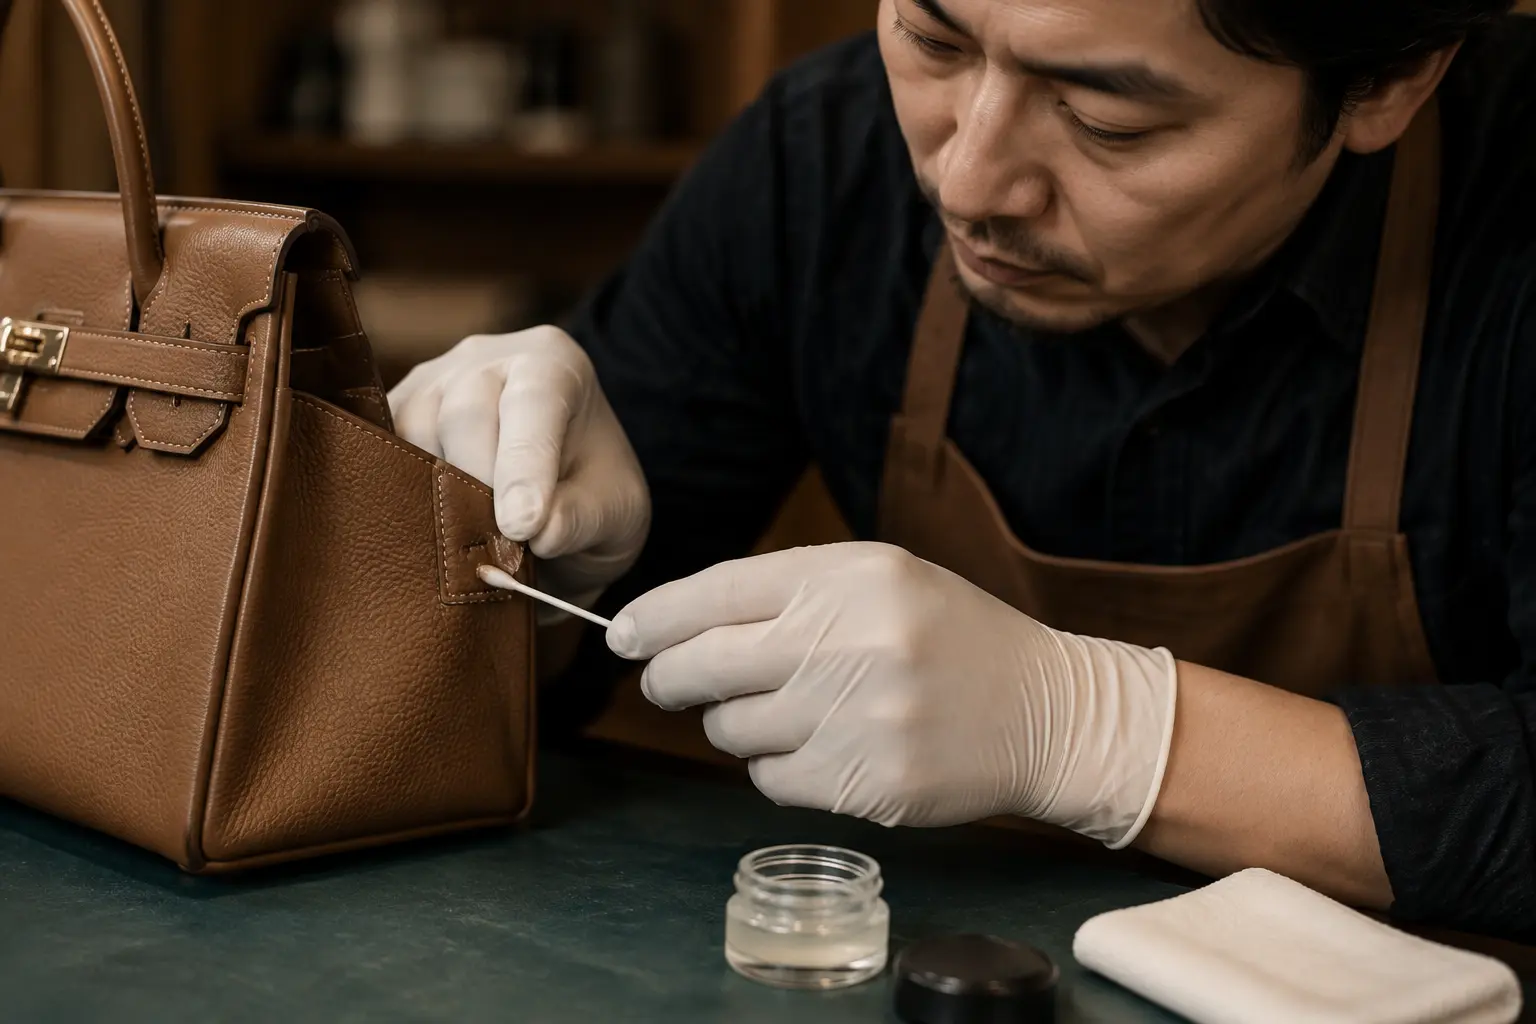
The same product can behave very differently on different leathers, colours, finishes and previously treated surfaces. A small-area test keeps the initial exposure as limited as possible.
The purpose is to identify incompatibility and warning signs early. It does not prove that a product is completely safe under every treatment condition.
Understand the limits of the test
Working over a larger area changes product build-up, the transitions between treated sections and the drying pattern. Even after a successful test, work gradually in small sections with small amounts, comparing treated and untreated areas throughout.
What to look for
- Colour coming off, colour bleeding or obvious local darkening.
- Whitening, loss of sheen, tackiness or stiffness.
- Flattened grain, a raised or fuzzy surface, or blistering.
- Visible edges, rings or uneven marks after drying.
- An unusual product odour or unexpectedly long or short drying time.
How to test
- Understand the product's purpose and suitable materials. Do not use mixtures of unknown composition.
- Choose an inconspicuous area with the same material as the intended treatment area.
- Use the smallest amount and the gentlest action. Avoid repeated rubbing.
- Record the original colour, sheen, feel and surface condition.
- Observe the immediate reaction, then allow natural drying and assess again.
- Only extend treatment gradually once the test area remains stable.
Check again after drying
Some changes appear only after solvent evaporation or surface drying. Do not move straight to a whole panel just because it looks normal immediately after wiping. Allow more time for stabilisation on higher-risk materials.