
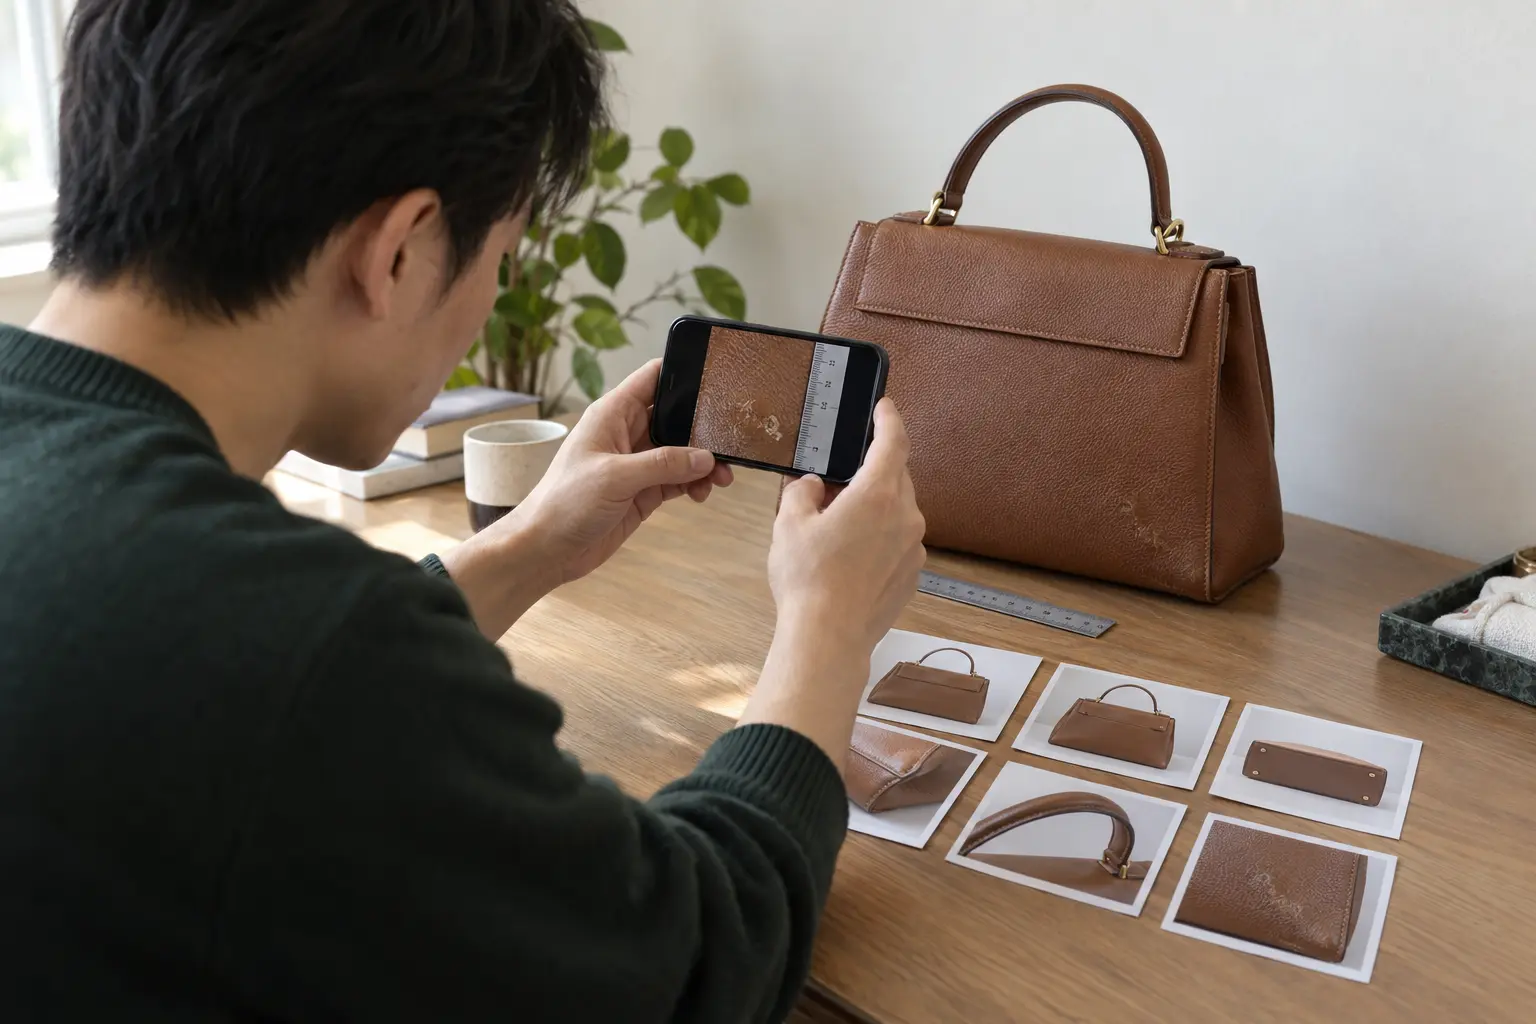
A close-up shows a mark but not its position or scale; an overall view may hide its boundary and surface changes. A useful consultation needs the whole item, structure, problem area, side lighting and history.
The nine photographs
- Front: empty the bag and let it stand naturally. Keep the camera parallel to it and include handles and base.
- Back: use the same distance and height to compare colour and shape.
- Left side: show folds, side panels and strap connections.
- Right side: match the left view to reveal asymmetry.
- Top: open the bag to show the zip, opening, flap and folds.
- Base: include corners, feet, wear and moisture marks.
- Problem close-up: place a coin or ruler nearby for scale without covering the problem.
- Problem in side light: let light skim across the surface to reveal texture, blisters, unevenness and gloss differences.
- Lining and material information: show lining, labels and relevant construction, concealing private information where appropriate.
Five camera checks
- Use diffuse daylight near a window, avoiding direct sun and yellow overhead lights.
- Choose a neutral grey, off-white or white background.
- Clean the lens and turn off portrait blur, beauty effects, filters and automatic retouching.
- Focus on the problem; texture should remain visible when enlarged.
- Send original images rather than repeatedly compressed screenshots.
For each issue, provide its overall position, a close-up showing the boundary against normal material, and a side-lit view distinguishing colour change from blisters, coating build-up, dents or wear.
Add six pieces of history
State the item's approximate age, when the issue first appeared, its likely source, exposure to water, heat, dye or compression, any products or methods used by you or another shop, and your desired improvement and acceptable remaining marks.
From enquiry to acceptance
- Prepare the nine views.
- Send them through the REBIRTH consultation page or WeChat ybsxh168, with your city.
- A professional can make an initial material and risk assessment and request more photographs.
- Agree whether to visit, send by SF Express or leave the item as it is for now.
- Inspection after physical receipt determines the final service, timing and result limits.
Photographs support initial assessment, identify obvious high-risk actions and prepare discussion. They cannot fully establish feel, odour, internal layers, old repair materials or colour stability. A remote assessment should not promise a recovery percentage or substitute for the final treatment plan.
Common questions
Is a close-up enough? No. Show the whole item and adjacent unaffected material to establish scale and boundaries.
Does video help? A slow walk-around video can supplement the photographs, particularly for reflections, blistering, stringy tackiness or structural noises. It does not replace clear originals.
Before sending, check all nine views, natural light, no filters, sharp focus, scale, treatment history, expectations and original files.