
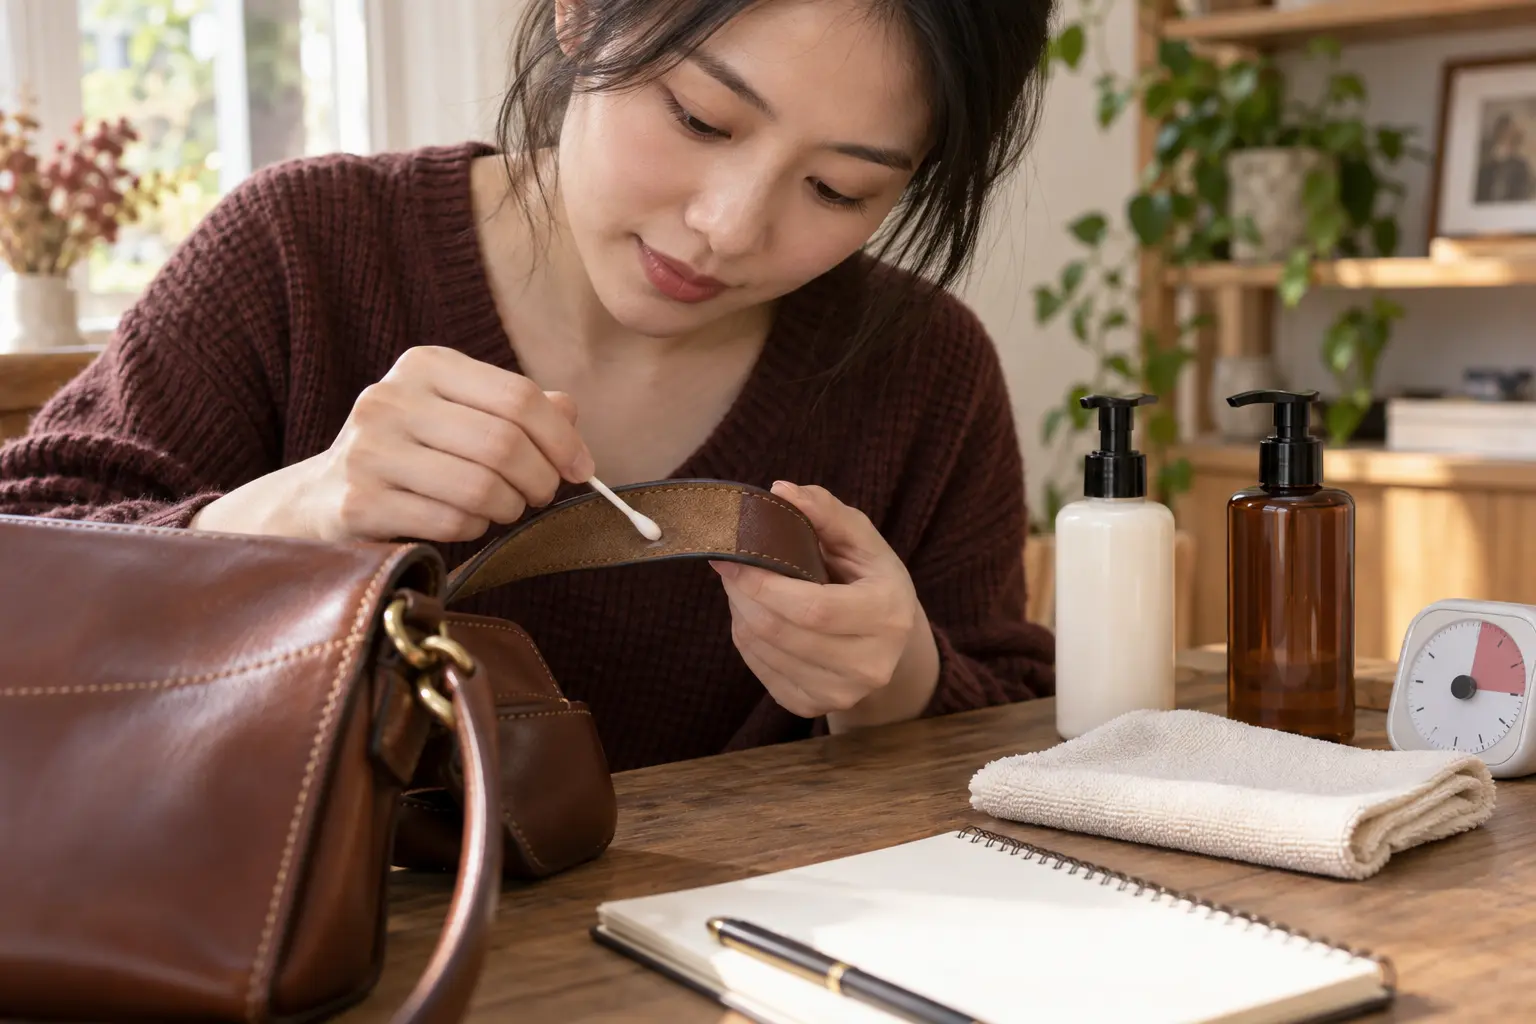
A label saying suitable for leather does not mean suitable for every leather, colour or surface condition. Control the variables: confirm suitability, use a minimal amount in a hidden area and wait until it dries fully before expanding.
Do not use a product on unidentified material or directly test a tacky, colour-unstable, blistered, powdering or previously repaired surface. Test one product at a time, apply it to the tool first, and judge colour, gloss, feel and stability after drying.
Eight checks before opening
- Product name, purpose and suitable materials.
- Excluded materials and warnings.
- Batch, shelf life or recommended use period, and condition after opening.
- Instructions for shaking, dilution and tools.
- The item's material, colour, finish and repair history.
- Ventilation, no naked flames, and separation from children and pets.
- White test cloths, measuring equipment, timer and camera.
- Instructions for removal, stopping use and cleaning tools.
A controlled hidden test
- Choose a normally concealed location matching the target material and colour.
- Photograph it in daylight and side light; record colour, texture, gloss and feel.
- Place a small amount on a clean tool. Keep the bottle opening off the leather.
- Touch or apply a thin layer to an area about the size of a fingernail, keeping the boundary fixed.
- Follow the stated contact time and method. Do not add concentration, time or heat.
- Use a separate clean tool to collect liquid or buff; do not return contamination to the container.
- Record amount, time, tool and action.
- Allow complete drying, then compare photographs in the same light and angle.
What a satisfactory test looks like
Appearance: no marked darkening, whitening, dullness, oily shine, rings or flattened grain. Feel: no tackiness, hardness, slipperiness, drag or residue, and no obvious colour on a fresh white cloth. Stability: no continuing change after drying, or cracking, powdering or coating movement during gentle flexing.
Excess product can build up, attract dust, leave tackiness and uneven gloss, and interfere with later recolouring, bonding or cleaning. Wait for one application to stabilise before considering more.
Extending treatment
- Divide the item into material and structural areas: main panels, edging, handles, base and lining.
- Start with a small low-risk area and limit each working zone.
- Keep the tool, amount and motion consistent.
- Replace dirty or colour-marked tools.
- Check neighbouring boundaries for moisture or product migration.
- Allow the specified resting time and assess only once stable.
Stop if the cloth picks up colour; the area darkens or whitens abruptly; tackiness, blisters or flattening appear; the boundary spreads; or an unusual strong smell or physical discomfort occurs. Ventilate and follow the product's safety instructions. Do not cover the problem with another product.
Can brands be mixed? Avoid combining products without confirmed compatibility: they may change pH, solvent action or film formation and obscure the cause of a problem.
Is ten minutes enough? Not necessarily. Water-based, oily and film-forming products may show changes only after full drying. Follow the stated recheck period.
Keep a product card with batch, material, test location, amount, tool, timings, wet and dry changes, expansion decision and any corrective action.