
A repaired area can match in colour yet look raised in side light and feel sharply edged. Colour changes appearance but cannot remove a built-up contour. Filling requires a suitable defect, a natural height and a texture that works with the surrounding leather.
Does the area need filling?
Colour loss without a depression may not need filler; extra material can bury intact grain. A small stable surface loss can be assessed for filling. Torn fibres, load-bearing holes and brittle substrate require more than surface levelling: a thick filler layer cannot provide structural support.
On scrap leather or your own practice item, take normal and low-angle side-lit photographs. Mark depressions, lifting edges and flexing locations. Do not decide how much to abrade from a photograph alone or make a customer item your first experiment.
Contour first, colour second
Check the perimeter for a hard step from excessive spread or layering too soon. Then check whether the centre is higher than the surrounding surface. Finally compare texture: a smooth plastic-like centre reflects differently from fine-grained leather even when the colour matches.
Test any refinement on a matching practice sample and follow the filler system's layer requirements and course demonstrations. Excessive sanding can damage the surrounding original finish; removing more is not the goal.
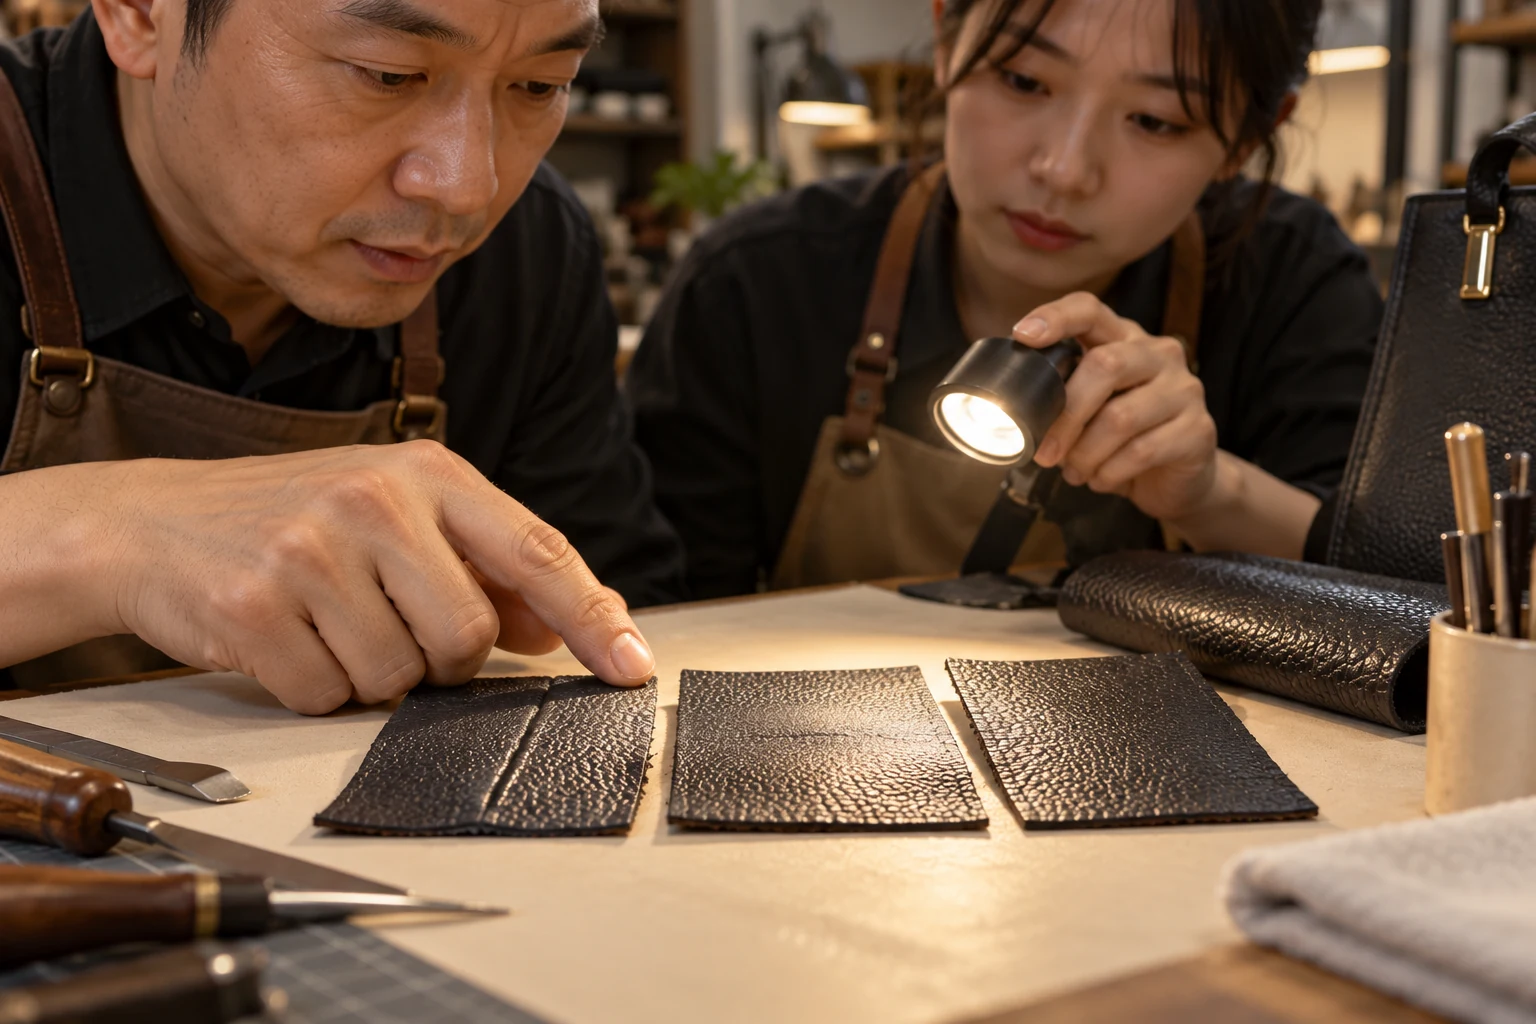
A three-sample exercise
Prepare comparable damaged samples with the same system, retaining one untreated control. Use different small, staged applications within normal working limits and record the condition required before adding each layer. Do not deliberately create dangerously excessive build-up.
Inspect coverage from the front, contour from the side and gentle flexing appropriate to the material. Follow the product's curing time; a dry-feeling surface does not establish internal stability. A slightly off-colour sample with a natural contour and feel is a better structural reference than a colour-perfect sample with a hard flexing edge.
Use stage checks
Filling without establishing base stability, hiding a fresh fill under dense colour, and adding a glossy topcoat to make it look new can all conceal or emphasise errors. Check the base, filled contour, recolouring and final cure separately, asking only what that stage should resolve.
Corners, flap folds and broad panels differ in finish, softness and use. Learn to explain the product choice, stopping point and stage to revisit when a hard edge appears. REBIRTH's leather filling and material-use lessons connect with detailed smooth-leather restoration in this order.
Record raised, recessed, visible boundary and hard-on-flexing observations separately using light touch and side light. If the centre is level but the edge hard, focus the next practice on the transition rather than blaming a product brand without evidence.